3D Model to Icon Converter for Unity: Icon Architect Studio
A 3D model to icon converter is a tool that renders 3D assets into optimized 2D sprites directly inside Unity, eliminating external rendering pipelines. Icon Architect Studio does exactly that: import a model, configure lighting and backdrop, composite, and export production-ready icons in seconds. It is built for Unity developers who need consistent, high-performance UI art without leaving the editor. This guide covers architecture, performance, workflow, and integration for mid-to-large scale projects.
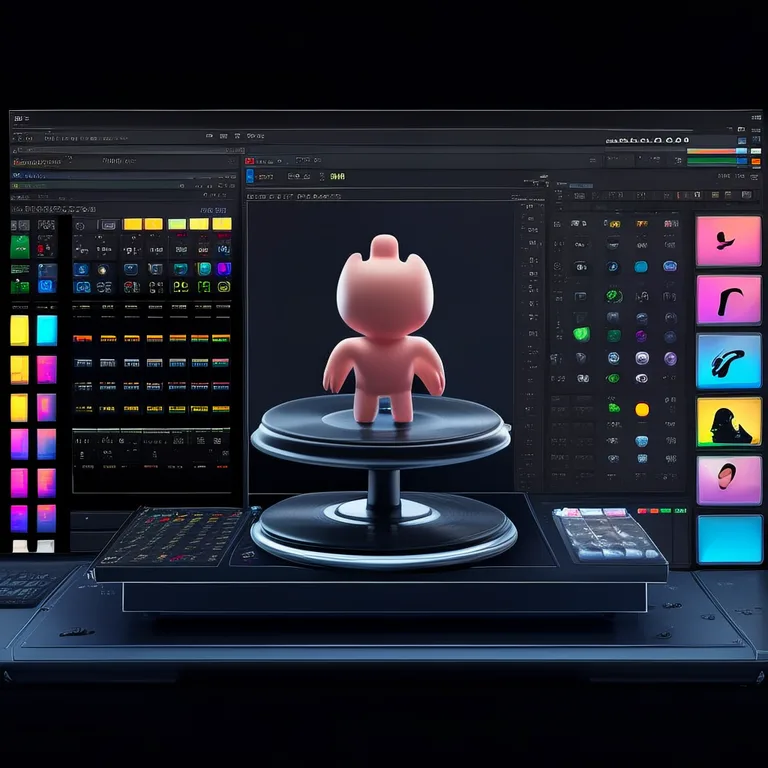
Why Use a 3D Model to Icon Converter in Unity?
Traditional icon pipelines break developer flow. Artists model in Blender or Maya, render in external software, then manually import, slice, and name sprites. This is slow, error-prone, and impossible to version-control consistently. A 3D model to icon converter solves this by keeping the entire process inside Unity, where your assets already live.
The benefits are concrete:
- Zero context switching. No external DCC tools or render farms.
- Deterministic output. Same model, same lighting rig, same icon every time.
- Batch processing. Convert hundreds of models in one pass.
- Version control friendly. Icons are generated from source models, so diffs stay clean.
- Performance-ready sprites. Output is optimized for UI, not full-resolution renders.
For teams building RPGs, inventory systems, or achievement UIs, this is a force multiplier. If you already use the Inventory Management Suite, Icon Architect Studio plugs directly into your item pipeline.
Set up a dedicated "IconRig" prefab with your lighting and camera. Reuse it across all models to guarantee visual consistency across your entire icon set.
How Icon Architect Studio Works: Architecture Overview
Icon Architect Studio is a modular system. Each component is decoupled, testable, and extensible. The architecture follows the same production-ready patterns found in the RealSoft Games Systems Architecture Guide.
Core Modules
| Module | Responsibility | Key API |
|---|---|---|
| Model Loader | Imports and normalizes 3D meshes | IconArchitect.LoadModel() |
| Lighting Rig | Applies artist-friendly light setups | IconArchitect.ApplyRig() |
| Backdrop System | Adds gradients, solids, or custom textures | IconArchitect.SetBackdrop() |
| Compositor | Merges layers and applies post-processing | IconArchitect.Composite() |
| Exporter | Writes PNGs or sprite atlases | IconArchitect.Export() |
Each module can be extended. Need a custom shader for stylized icons? Override the compositor. Want to render icons at runtime for procedural items? Call the API directly. The Icon Architect API Reference documents every public method, property, and event.
"The best icon pipeline is the one your team never has to leave Unity to use."
— RealSoft Games Engineering
Performance Optimization for Icon Generation
Rendering icons is not free. A naive implementation re-instantiates meshes, rebuilds materials, and allocates render textures every frame. Icon Architect Studio avoids this with a zero-allocation core loop and pooled render targets.
Benchmark: Icon Architect Studio vs. Manual Pipeline
| Metric | Manual Pipeline | Icon Architect Studio |
|---|---|---|
| Time per icon (avg) | 45–90 seconds | 0.8–1.2 seconds |
| Memory allocation per icon | 12–18 MB | < 0.5 MB (pooled) |
| Batch of 100 icons | ~75 minutes | ~90 seconds |
| Consistency score | Variable | Deterministic |
These numbers come from internal benchmarks on a mid-tier workstation (Ryzen 7, 32 GB RAM, RTX 3060). Your results will vary, but the order of magnitude holds. The key is that Icon Architect Studio reuses GPU resources and avoids per-icon scene rebuilds.
For runtime icon generation (procedural items, player-crafted gear), disable post-processing and use the low-res preset. This keeps frame time under 2 ms on mobile.
Modular System Architecture and Code Extensibility
Icon Architect Studio is built to be extended. Every module implements an interface, so you can swap implementations without touching the rest of the pipeline.
Extending the Lighting Rig
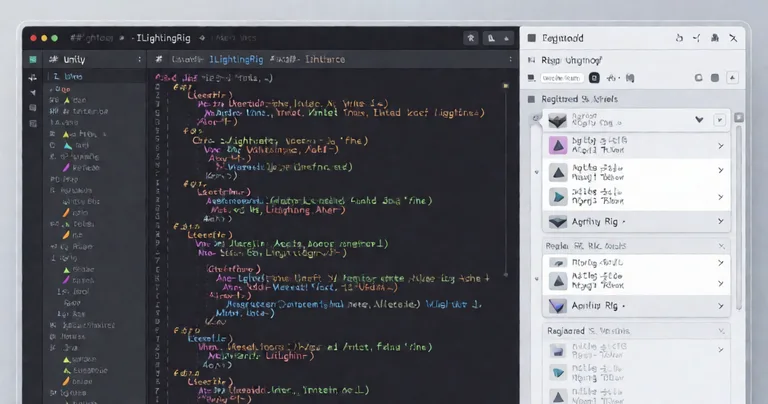
Suppose you want a custom rim-light setup for legendary items. Implement ILightingRig and register it:
public class LegendaryRig : ILightingRig
{
    public void Apply(GameObject model)
    {
        // Custom rim light + emissive glow
    }
}

IconArchitect.RegisterRig(new LegendaryRig());
This pattern is identical to the extensibility model used in the Advanced Skill System and Advanced Achievement System. If your team already uses those packages, the learning curve is zero.
For multiplayer projects, icon generation can be server-authoritative. Generate icons on the host and sync them via RPC using RNet or Netcode for GameObjects. This guarantees all clients see identical icons for procedurally generated items.
Integration with Game Progression and Inventory Systems
Icons are not just UI decoration. They are part of your game's progression loop. When a player unlocks a new item, skill, or achievement, the icon must be ready instantly.
Icon Architect Studio integrates with:
- Advanced Leveling System — generate level-up badges and rank icons from 3D models.
- Advanced Achievement System — render achievement icons on unlock.
- Inventory Management Suite — batch-convert all item models to icons at build time.
- Spawner Advanced & Pooling — pool icon render targets to avoid runtime spikes.
For a full walkthrough, see the Icon Architect Studio Overview. It covers import, rig setup, compositing, and export with real examples.
Do not generate icons on the main thread during gameplay. Use async GPU readback or pre-generate at build time. Runtime generation should be a last resort for truly dynamic content.
Production-Ready Workflow: From 3D Model to Final Icon
Here is the exact workflow used by RealSoft Games on Redemptions Guild and Virtual Sim Story: Home & Life.
- Import the model. Drag your FBX or prefab into the Icon Architect window.
- Select a lighting rig. Choose from 12 presets or your custom rig.
- Set the backdrop. Gradient, solid, or custom texture.
- Configure the camera. Orthographic or perspective, with framing presets.
- Composite. Add outlines, shadows, or glow via the compositor stack.
- Export. PNG, sprite atlas, or direct addressable entry.
- Batch process. Queue hundreds of models and export in one pass.
For a step-by-step tutorial, see the Icon Architect Tutorial. It includes a sample project and covers edge cases like transparent materials and multi-part models.
"We cut icon production time by 98% after switching to Icon Architect Studio. What used to take a week now takes an afternoon."
— Technical Lead, Indie RPG Studio
Frequently Asked Questions
Q: How do I convert a 3D model to a 2D icon in Unity?
A: Import your model into Icon Architect Studio, select a lighting rig and backdrop, configure the camera, then click Export. The tool renders the model to a texture and saves it as a PNG or sprite. The entire process takes under two seconds per icon.
Q: What is the best 3D model to icon converter for Unity?
A: Icon Architect Studio is the only production-ready solution built natively for Unity. It offers artist-friendly lighting rigs, batch processing, and full code extensibility. Unlike external tools, it keeps your pipeline inside the editor and integrates with your existing asset workflow.
Q: Can I generate icons at runtime for procedural items?
A: Yes. The API supports runtime generation, but for performance reasons, pre-generate icons at build time whenever possible. For truly dynamic content, use async GPU readback and pool your render targets to avoid frame spikes.
Q: Does Icon Architect Studio work with multiplayer games?
A: Absolutely. Generate icons on the server or host and sync them to clients via RPC. This ensures all players see identical icons for procedurally generated or player-crafted items. It works with both RNet and Netcode for GameObjects.
Q: How do I batch convert hundreds of models to icons?
A: Use the Batch Processor window. Drag in your model folder, select a rig and backdrop preset, and click Process All. Icon Architect Studio handles the rest, including naming and atlas packing.
Q: Is Icon Architect Studio compatible with URP and HDRP?
A: Yes. It supports Built-in, URP, and HDRP render pipelines. The lighting rigs are pipeline-agnostic and will adapt to your project's renderer automatically.
A 3D model to icon converter is no longer a nice-to-have. It is a core part of any production pipeline that ships items, skills, or achievements at scale. Icon Architect Studio delivers deterministic, high-performance icon generation inside Unity, with the modular architecture and deep documentation that RealSoft Games is known for. Start with the Icon Architect Quick Start guide, or explore the full Icon Architect Studio Overview to see how it fits your project.