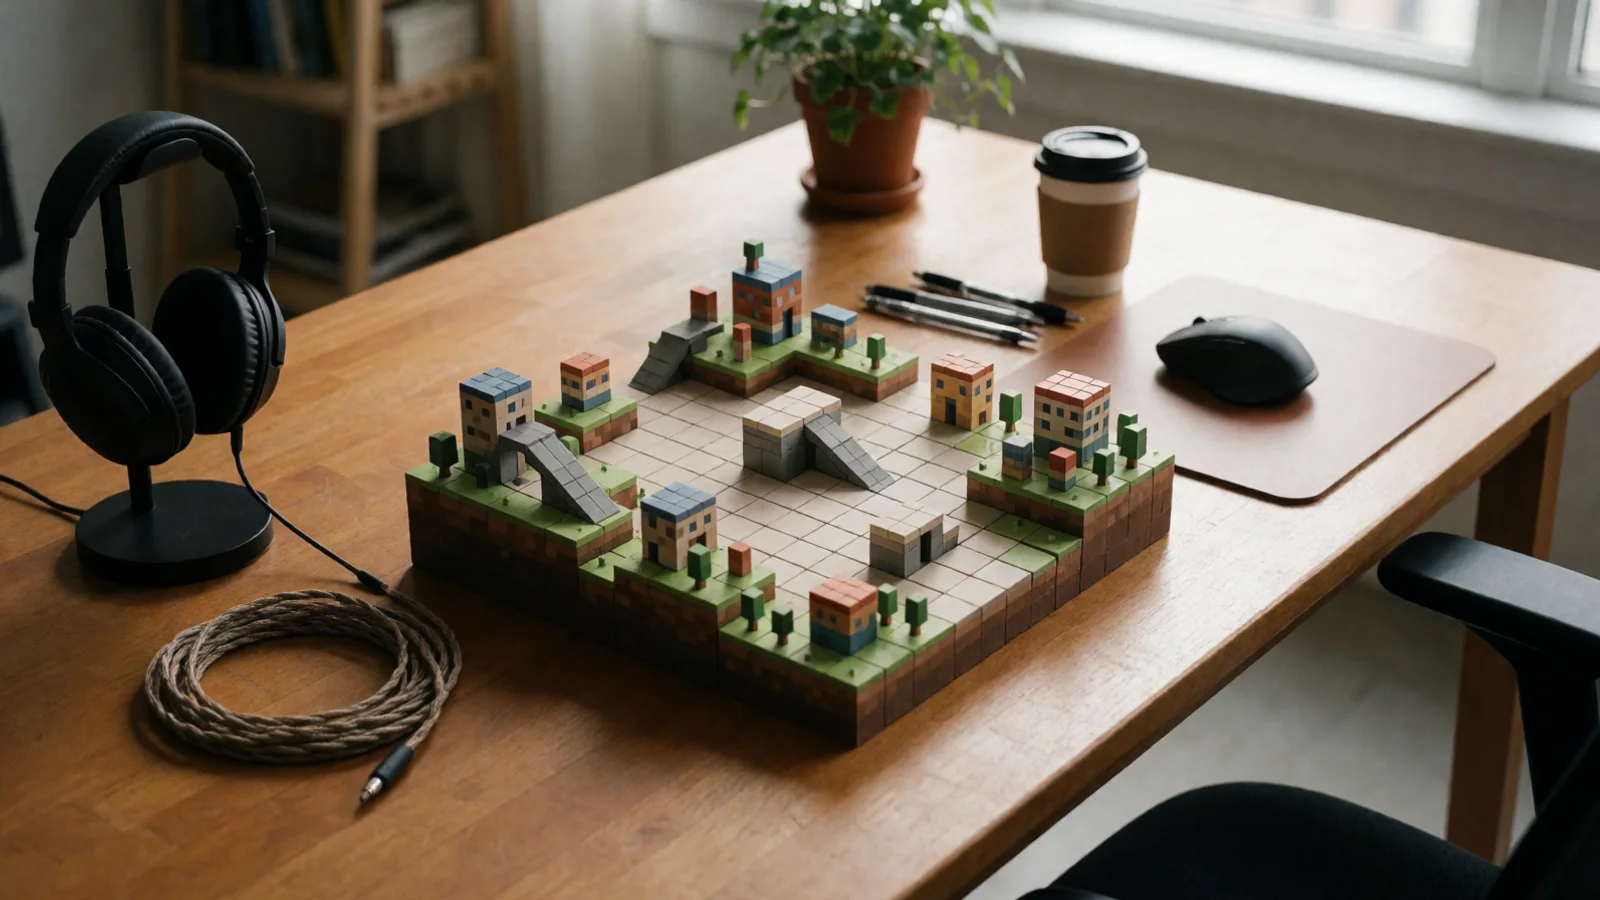
The Ultimate Guide to 2D Isometric Game Development in Unity
A 2D isometric game simulates a 3D perspective using 2D sprites, typically with a 30-degree camera angle, creating depth without full 3D rendering. This comprehensive guide provides the ultimate technical workflow for independent and professional Unity developers to build robust, multi-genre 2D isometric games. By mastering tilemaps, sorting layers, and efficient spawning systems, you can streamline complex game mechanic systems and accelerate your project from concept to a polished, original game, leveraging drag-and-drop integration and comprehensive documentation for maximum developer efficiency.
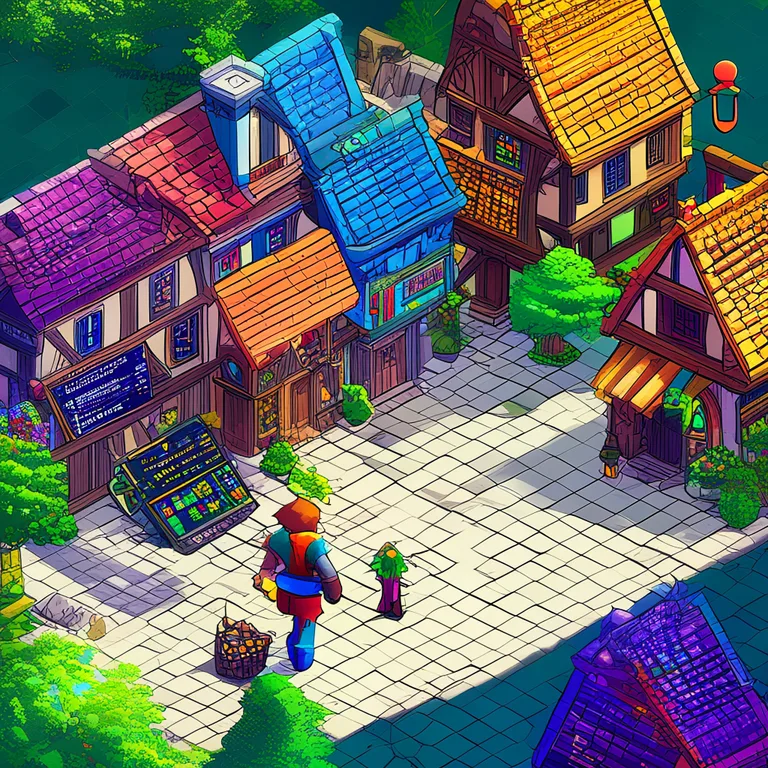
Why 2D Isometric Games Remain a Cornerstone of Multi-Genre Development
The 2D isometric game perspective is a timeless design choice that powers everything from classic RPGs like Baldur's Gate to modern indie hits. This viewpoint offers a unique blend of visual depth and manageable technical complexity, making it a favorite for Unity developers. Unlike full 3D games, a 2D isometric game relies on a fixed orthographic camera and carefully layered sprites, which significantly reduces rendering overhead while maintaining an immersive world.
For studios building across genres—FPS, RPG, RTS—the principles of isometric design provide a foundational skill set. The core challenges, such as depth sorting and coordinate conversion, are universal. Mastering these allows you to create everything from a real-time strategy game with Unit Selection mechanics to a narrative-driven adventure. The efficiency gained from a well-structured isometric project is substantial; you're not fighting 3D perspective math, but you're still delivering a rich visual experience. This is why many developers turn to pre-built, documented systems to handle the underlying complexity, allowing them to focus on original game projects and unique gameplay loops.
The global 2D game market is projected to reach $27.7 billion by 2028, with isometric and top-down perspectives holding a significant share due to their popularity in mobile and indie PC titles. This enduring appeal makes efficient isometric development tools a high-value investment.
Core Technical Advantages of the Isometric View
- Performance Efficiency: 2D sprites and tilemaps are far less resource-intensive than 3D meshes and lighting, ensuring smooth performance on mobile and WebGL platforms, a key requirement for projects like those showcased on the RealSoft Games WebGL Games portal.
- Art Pipeline Simplicity: Artists can produce stunning, detailed assets without complex 3D modeling, rigging, or UV mapping. The workflow is direct: create a sprite, import it, and place it on a grid.
- Predictable Game Logic: Grid-based movement, range calculations, and collision detection are inherently simpler and more deterministic in an isometric tilemap system, reducing bugs and simplifying multiplayer synchronization.
Setting Up the Perfect 2D Isometric Game Scene in Unity
How do I set up a 2D isometric tilemap in Unity? The process begins with configuring your project for a 2D workflow and leveraging Unity's dedicated Isometric Tilemap system. This is the foundation upon which all other systems, from the Advanced Leveling System to complex spawn logic, are built. A precise initial setup prevents sorting nightmares later.
Step-by-Step: Isometric Tilemap Configuration
- Create a New 2D Project: Start with the 2D Core template in Unity Hub to pre-configure the editor for sprite-based work.
- Install 2D Tilemap Editor Package: Via the Package Manager (Window > Package Manager), ensure the "2D Tilemap Editor" is installed. This unlocks the Tile Palette window, your primary interface for painting worlds.
- Create an Isometric Tilemap: In the Hierarchy, right-click and select "2D Object > Tilemap > Isometric Z as Y Tilemap." This is crucial; it tells Unity's renderer to sort sprites based on their Y-axis position as height, which is fundamental for isometric depth.
- Set the Grid Orientation: The parent Grid object will automatically set its Cell Layout to "Isometric Z as Y." Verify this in the Inspector. The Cell Size should match your base tile sprite dimensions.
- Import and Slice Sprites: Import your isometric sprite sheets. In the Sprite Editor, set the Sprite Mode to "Multiple" and slice by cell size. Crucially, set each sprite's Pivot to "Custom" and place it at the bottom-center of the diamond shape. This pivot point is the anchor for depth sorting.
- Create a Tile Asset: Drag a sliced sprite into the Tile Palette window to create a Tile Asset. You can now paint directly onto your Isometric Tilemap in the Scene View.
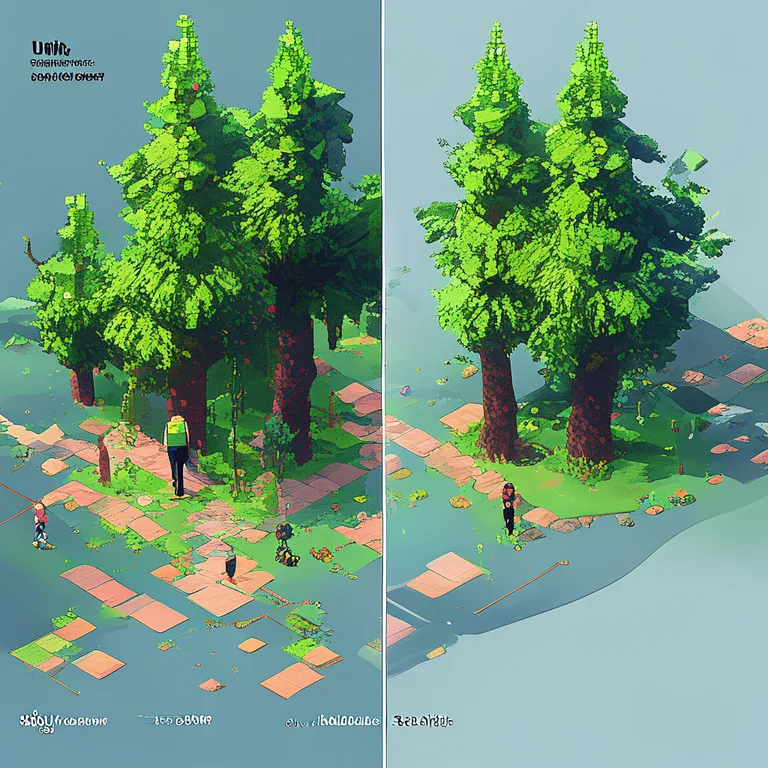
For dynamic entities like characters that move between tiles, do not place them on the static Tilemap. Instead, create a separate GameObject with a Sprite Renderer and attach a custom script to control its "Sorting Order" or "Order in Layer" based on its Y-axis position. This ensures a character walking behind a house is correctly occluded.
Mastering Isometric Depth Sorting
The single biggest technical hurdle in a 2D isometric game is sorting—ensuring objects farther away are drawn behind closer ones. Unity's "Isometric Z as Y" mode uses the Y-coordinate to determine render order. For static tiles on the same layer, this is automatic. For moving objects, you must implement a script that updates the `SpriteRenderer.sortingOrder` every frame.
The definitive formula is: `sortingOrder = -(int)(transform.position.y * 100);`. This converts the Y-axis world position into a negative integer, ensuring that sprites higher on the screen (which are farther away in isometric space) have a lower sorting order and are rendered behind sprites lower on the screen. For a truly comprehensive solution that handles this and more, a drag-and-drop system like Spawner Advanced & Pooling can manage the lifecycle and sorting of dynamically spawned objects, from projectiles to enemy units, without writing boilerplate code from scratch.
Advanced Game Mechanic Systems for 2D Isometric Games
What's the best way to implement complex mechanics in a 2D isometric game? The answer lies in decoupling your systems. A robust isometric game architecture separates concerns into distinct, reusable modules. This modularity is what allows a small studio to tackle multi-genre game development efficiently. Instead of building a monolithic script, you integrate specialized components that handle leveling, spawning, and achievements, all of which are critical for a modern game.
"The true power of modern Unity development isn't in writing more code, it's in architecting systems that talk to each other cleanly. An isometric view is just a renderer; the game's soul is in its mechanics."
— A core principle behind RealSoft Games' development philosophy
Integrating a Drag-and-Drop Leveling System
Player progression is the backbone of RPG and strategy games. An Advanced Leveling System provides a comprehensive, formula-driven approach to character growth. In an isometric game, you can tie experience gain to tactical positioning or exploration. A well-documented leveling system integrates via a simple API, allowing you to award XP from any script—be it from defeating an enemy in combat or discovering a hidden tile on the map. The ultimate goal is developer efficiency: define your level curves in a ScriptableObject, call `LevelingSystem.AddExperience(amount)`, and let the system handle stat calculations, level-up events, and UI updates.
Efficient Object Management with Advanced Spawning & Pooling
Performance in a 2D isometric game can degrade quickly with frequent `Instantiate` and `Destroy` calls, especially in action-heavy scenes. Spawner Advanced & Pooling is engineered to solve this exact problem. This system is not just a simple object pool; it's a comprehensive spawning framework that handles complex patterns, timed waves, and, crucially, automatic depth sorting for spawned entities.
Consider an RTS-style isometric game with hundreds of units. Using this spawner, you can define a pool for each unit type, spawn them at a grid coordinate, and have the system automatically set their sorting layer based on the Y-axis formula we discussed. This turns a complex, error-prone task into a drag-and-drop configuration. The system's comprehensive documentation means you can integrate these advanced features in minutes, not days, directly supporting original game projects that need to scale.
| Feature | Manual Implementation | Spawner Advanced & Pooling |
|---|---|---|
| Object Pooling | Write custom pool logic for each prefab | Unified, configurable pool manager |
| Spawning Patterns | Hard-code formations and wave logic | Visual editor for patterns, waves, and delays |
| Depth Sorting | Attach a custom script to every prefab | Automatic Y-axis sorting integration |
| Memory Management | Risk of fragmentation and GC spikes | Pre-warmed pools, zero-allocation spawning |
Streamlining UI and Feedback in an Isometric World
A 2D isometric game presents unique UI challenges. The game world is tilted, but the user interface must remain clear and flat. Furthermore, providing feedback for achievements and loading transitions without breaking immersion is key to a polished product. This is where purpose-built, drag-and-drop Unity components become indispensable for developer efficiency.
World-Space Canvases vs. Screen-Space Overlays
For in-world feedback like damage numbers or character names, a World Space Canvas is appropriate. However, its `Render Mode` must be carefully configured to work with the isometric camera. The definitive approach is to set the Canvas's `Event Camera` to your main orthographic camera and use a `Sorting Layer` that sits above all your tilemaps. For all other menus, a Screen Space - Overlay Canvas ensures crisp, non-distorted UI elements. This separation is a core tenet of comprehensive documentation for scalable game architecture.
Implementing Achievements and Loading Screens
Player retention soars when you provide clear goals and smooth transitions. The Advanced Achievement System is the ultimate drag-and-drop solution for integrating achievements. In a 2D isometric game, you can trigger achievements for exploration ("Discover the Hidden Oasis"), combat ("Defeat 100 Enemies"), or crafting. The system is designed to be called with a single line of code: `AchievementSystem.Unlock("oasis_discovery");`. It then handles all UI popups, sound effects, and save data.
Similarly, moving between isometric scenes requires a seamless loading experience. The Advanced Loading Screen transforms a technical necessity into a branding opportunity. Instead of a static black screen, you can display dynamic tips about your game's lore, show a spinning isometric crystal, or update progress bars smoothly. This system works by loading your target scene asynchronously and reporting progress, preventing frame hitches and keeping players engaged. Both systems are part of a suite of products designed to empower developers to create original game projects without reinventing common wheels.
Case Study: From 2D Side-Scroller to Isometric Twist
Real-world application of these principles is best seen in a completed project. Take "Calling All Heros," a thrilling 2D side-scrolling adventure developed by RealSoft Games. While primarily a side-scroller, it features an innovative isometric twist for specific boss arenas and bonus stages. This design choice was made to add visual variety and tactical depth without rebuilding the entire game.
The development team utilized the same foundational Unity tools discussed here. The transition to an isometric view for those sections was managed by switching the active camera and Tilemap grid. The core game mechanics—character control, combat, and the Advanced Leveling System—remained unchanged. This modular approach, where the rendering perspective is decoupled from the game logic, is the ultimate demonstration of robust architecture. It proves that a 2D isometric game can be a powerful feature within a larger, multi-genre title, and that investing in comprehensive, reusable systems pays dividends in creative flexibility. You can explore more about this and other projects in the RealSoft Games Projects portfolio.
Comprehensive Comparison: 2D Isometric vs. Other Perspectives
Why should I choose a 2D isometric game over a top-down or full 3D game? The decision hinges on your project's artistic goals, target platform performance, and team expertise. The following table provides a definitive, data-driven comparison to guide your technical direction.
| Perspective | Art Asset Complexity | Performance Overhead | Depth & Immersion | Best Suited Genre |
|---|---|---|---|---|
| 2D Top-Down | Low | Very Low | Low | Roguelikes, Pixel RPGs |
| 2D Isometric | Medium | Low | High | City Builders, Tactical RPGs, RTS |
| 2.5D (3D with fixed cam) | High | Medium | Very High | Metroidvanias, Action RPGs |
| Full 3D | Very High | High | Maximum | FPS, Open-World RPGs |
As the table illustrates, a 2D isometric game occupies a strategic sweet spot. It delivers a high sense of depth and immersion with only a medium investment in art complexity and low performance overhead. This makes it the ultimate choice for indie studios and professional developers targeting a wide range of platforms, from high-end PC to mobile devices and WebGL. For developers looking to quickly prototype or build these games, exploring pre-vetted assets and tools on platforms like the Unity Asset Store can drastically cut development time.
While isometric games are performant, they can suffer from "dead space" where the player cannot see behind large foreground objects. A common solution is to implement a "cutaway" shader or make foreground objects semi-transparent when the player character is behind them. Always plan your level design to minimize these occlusion zones.
Developer Efficiency: The RealSoft Games Ecosystem
How do I accelerate my 2D isometric game development without sacrificing quality? The answer is to not build everything from scratch. The RealSoft Games ecosystem is built on the principle of providing ultimate, advanced, and comprehensive solutions that integrate via drag-and-drop. Each product, from Icon Architect Studio for generating stunning 2D icons from 3D models to the core gameplay systems, is designed to be a standalone, well-documented module that composes seamlessly into your project.
By leveraging these tools, you are not just buying code; you are adopting a proven architecture. The time saved on boilerplate systems like spawning, leveling, and achievements can be reallocated to what truly matters: polishing your unique game feel, crafting your narrative, and iterating on your core game loop. This is the ultimate path from concept to a shipped, original game project.
"Stop rewriting the same systems for every project. Grab a robust, documented module, drop it in, and spend your genius on the 10% of your game that makes it a hit."
— The philosophy powering the RealSoft Games product suite
Frequently Asked Questions About 2D Isometric Game Development
Q: How do I convert screen coordinates to isometric grid coordinates in Unity?
A: You need to reverse the isometric projection. For a standard 2:1 isometric grid, the formulas are: `gridX = (screenY / tileHeight) + (screenX / tileWidth);` and `gridY = (screenY / tileHeight) - (screenX / tileWidth);`. You must also account for the camera's position. A robust method is to use `Camera.main.ScreenToWorldPoint` and then apply the inverse matrix of your grid's transformation, or use a utility function that factors in your tilemap's cell size and origin.
Q: What's the best way to handle collision detection on an isometric tilemap?
A: The definitive approach is to use Unity's `TilemapCollider2D` component. Attach it to your Isometric Tilemap and assign a physics shape to each tile in your Tile Assets. For dynamic objects, use a `Rigidbody2D` and a `BoxCollider2D` on the character prefab. The physics engine will automatically handle collisions based on the world-space positions, so your isometric projection doesn't break collision math. Ensure your character's collider is centered on its bottom pivot for the most accurate visual feedback.
Q: How can I make my 2D isometric game perform well on mobile devices?
A: Performance optimization for mobile is critical. Key strategies include: using a single atlas texture for all your tiles to reduce draw calls; implementing an object pooling system like Spawner Advanced & Pooling to eliminate garbage collection spikes; reducing the tilemap chunk size in the Grid component; and using sprite atlases aggressively. Also, limit the use of real-time shadows and post-processing effects, which are costly on mobile GPUs.
Q: How do I create elevation and multi-level environments in a 2D isometric game?
A: You can create elevation using multiple Tilemaps on different Sorting Layers or by using Z-axis offsets. A simpler method is to create "cliff" or "platform" tiles that are visually taller, and use a custom sorting script that sets a character's `sortingOrder` based on `transform.position.y + elevationOffset`. For true multi-level gameplay (like bridges you can walk under), you'll need to manage layer changes dynamically, switching the character's Sprite Renderer sorting layer when they move to a designated area.
Q: What are the best resources for learning advanced isometric game mechanics?
A: Beyond the official Unity documentation on Isometric Tilemaps, the most comprehensive resources are often well-documented asset packs. The RealSoft Games Documentation portal provides practical, code-first tutorials on integrating systems like leveling and achievements into various game perspectives, including isometric. Studying the source code of a complete, polished project is the fastest way to learn advanced patterns.
Q: Can I use Unity's 2D lights with an isometric tilemap?
A: Absolutely. The Universal Render Pipeline (URP) supports 2D lights that work seamlessly with Isometric Tilemaps. You can use Point, Spot, and Global 2D lights to create stunning dynamic lighting effects. To make this work, ensure your tilemap sprites have a Sprite-Lit-Default material. This allows you to add normal maps to your isometric sprites, giving them 3D-like depth when lit, which is a powerful way to elevate the visual fidelity of your game.
Mastering the 2D isometric game perspective in Unity is a strategic advantage for any developer. By combining a correct initial tilemap setup with advanced, drag-and-drop systems for spawning, leveling, and UI, you can achieve unparalleled developer efficiency. The key is to build upon a foundation of comprehensive documentation and robust, reusable code, allowing you to focus your energy on creating truly original game projects. Whether you're building the next classic RPG or an innovative RTS, the tools and techniques outlined here provide the ultimate pathway from a blank Unity project to a polished, market-ready game.